Step one: the estimate
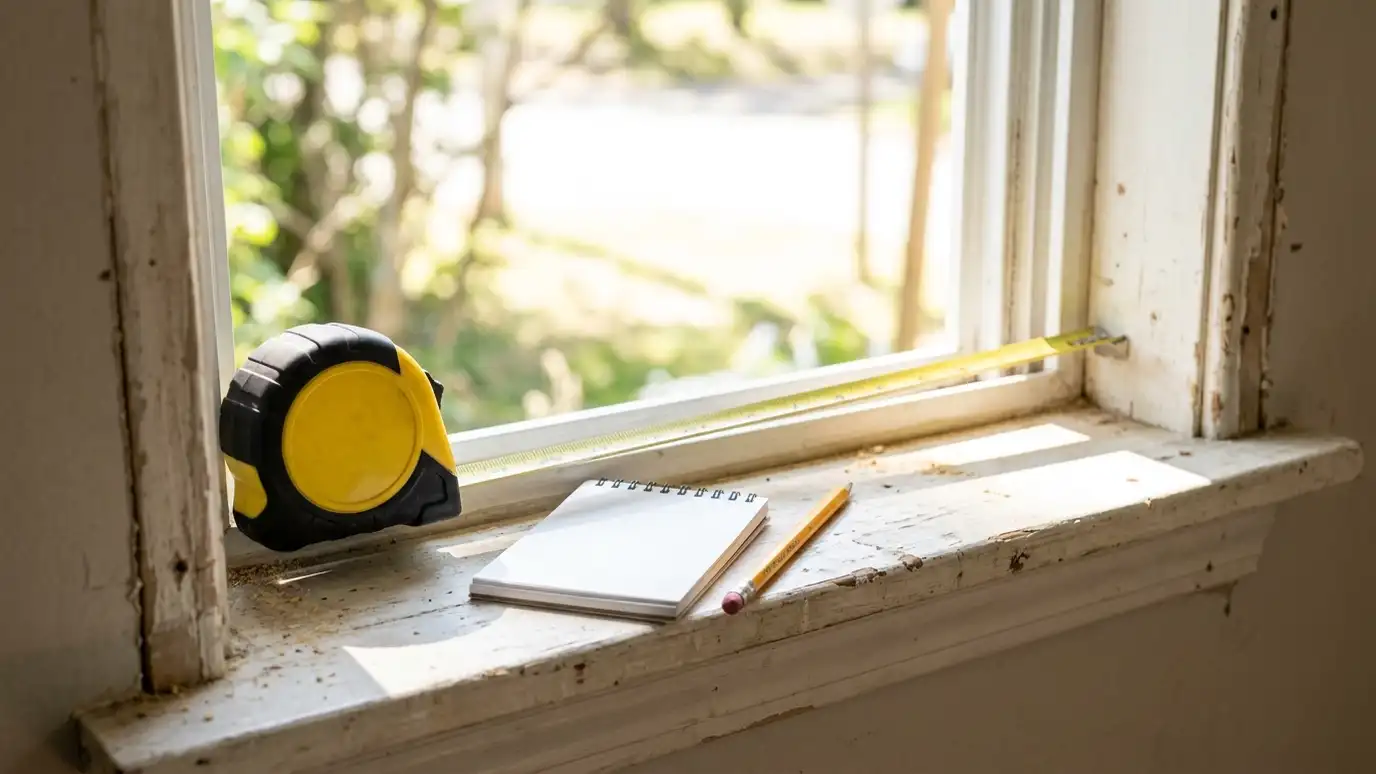
A good project begins with a visit. We look at each window, probe the frames and sills, note the condition of the trim and walls and talk about your goals. You tell us what bothers you and what you want to keep, and we show options.
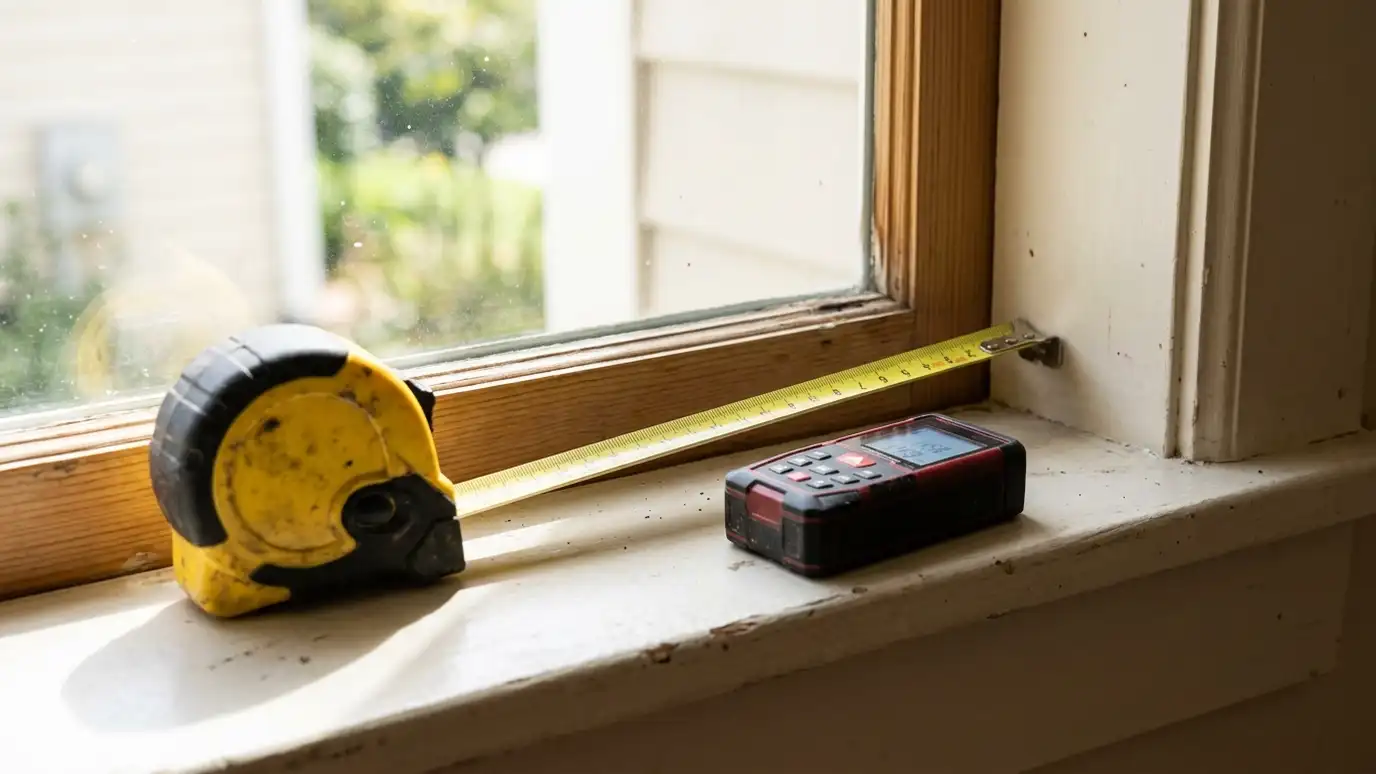
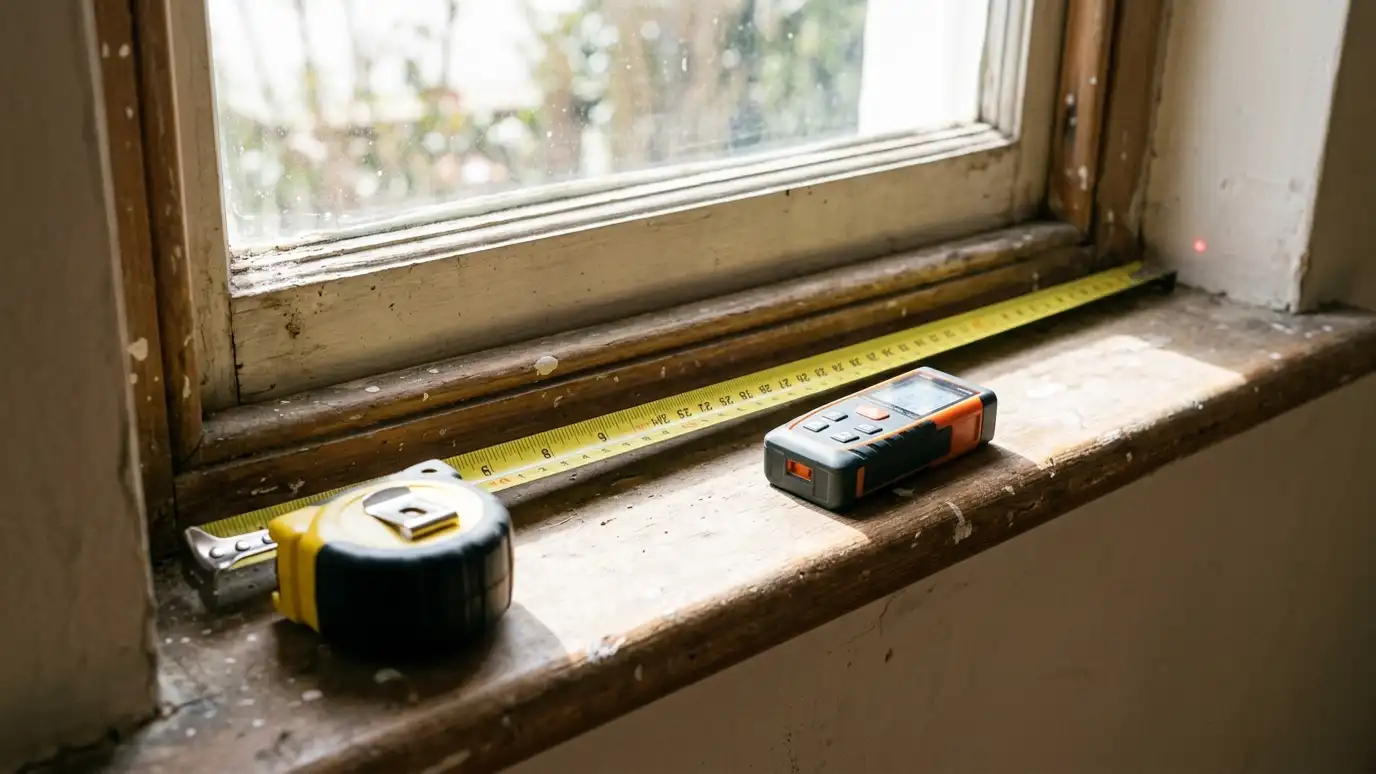
We take measurements at this stage or schedule a separate measuring visit, since made-to-size windows depend on accurate numbers.
You receive a written scope so you can compare it and decide in your own time.
It helps to have photos of your windows ready, along with any paperwork from earlier work. Notes about which windows bother you most make the visit more useful, and a short list of rooms where you want changes saves time.
Step two: choosing windows
Together we choose styles, frame material, glass, grids, color and hardware. We bring samples and explain how each choice changes comfort and upkeep.
Decisions are written down in an order form, and we confirm the final sizes with you before anything is made.
If your community has rules about windows, this is the time to collect approvals.
Decisions go faster when you see samples. Hold frame corners in your hand, look at glass in your own light and hold a color card against the siding. A few minutes with real samples avoids a lot of second-guessing.
Step three: ordering and waiting
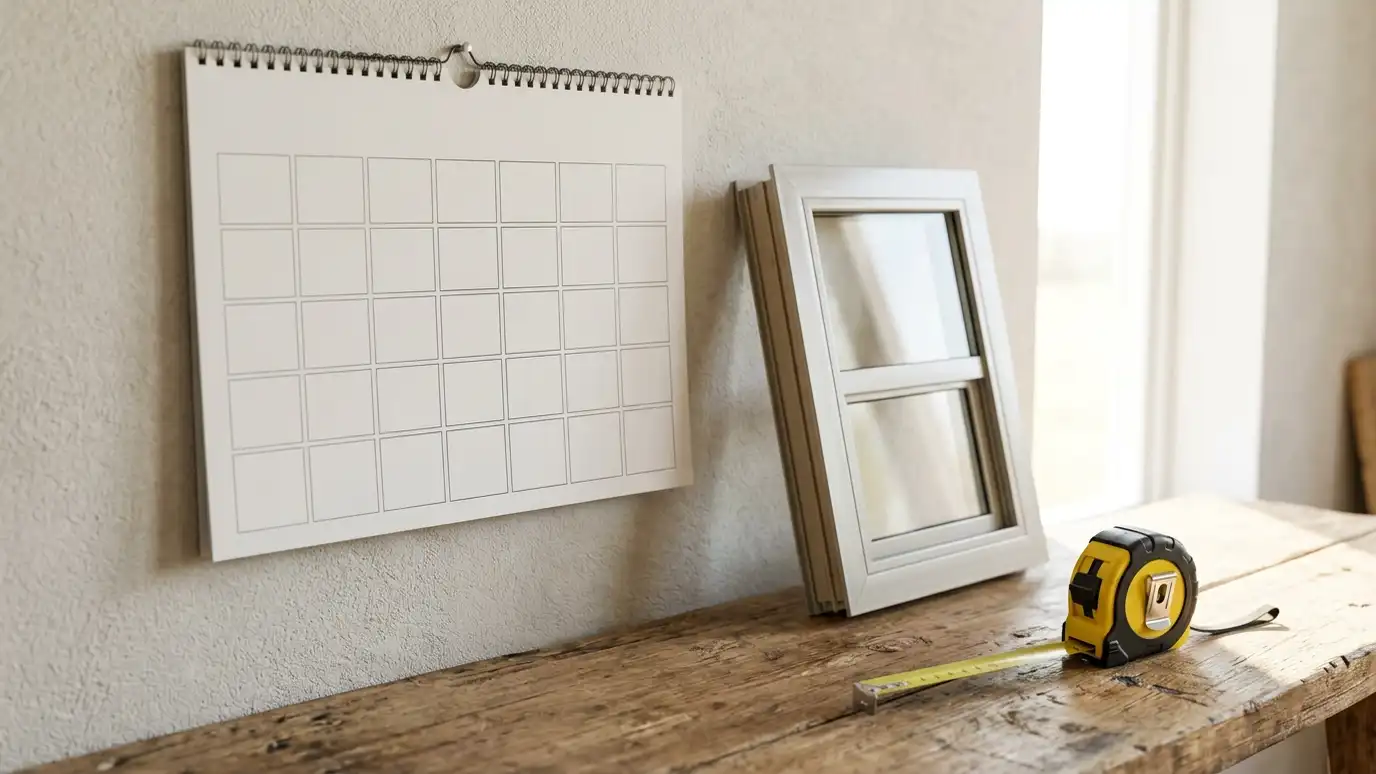
Windows are made to order, and the wait is often several weeks, depending on the line and any special glass. We tell you the expected lead time up front and keep you updated if it changes.
While you wait, you can plan painting, furniture moves and the removal of blinds or curtains.
We call you when the windows arrive and check each unit for size and damage before the install day.
Use the waiting time well. Order paint, decide on blinds and clear the area around the windows. When the crew arrives, the work can start at once, and the day goes more smoothly for everyone.
Step four: installation day
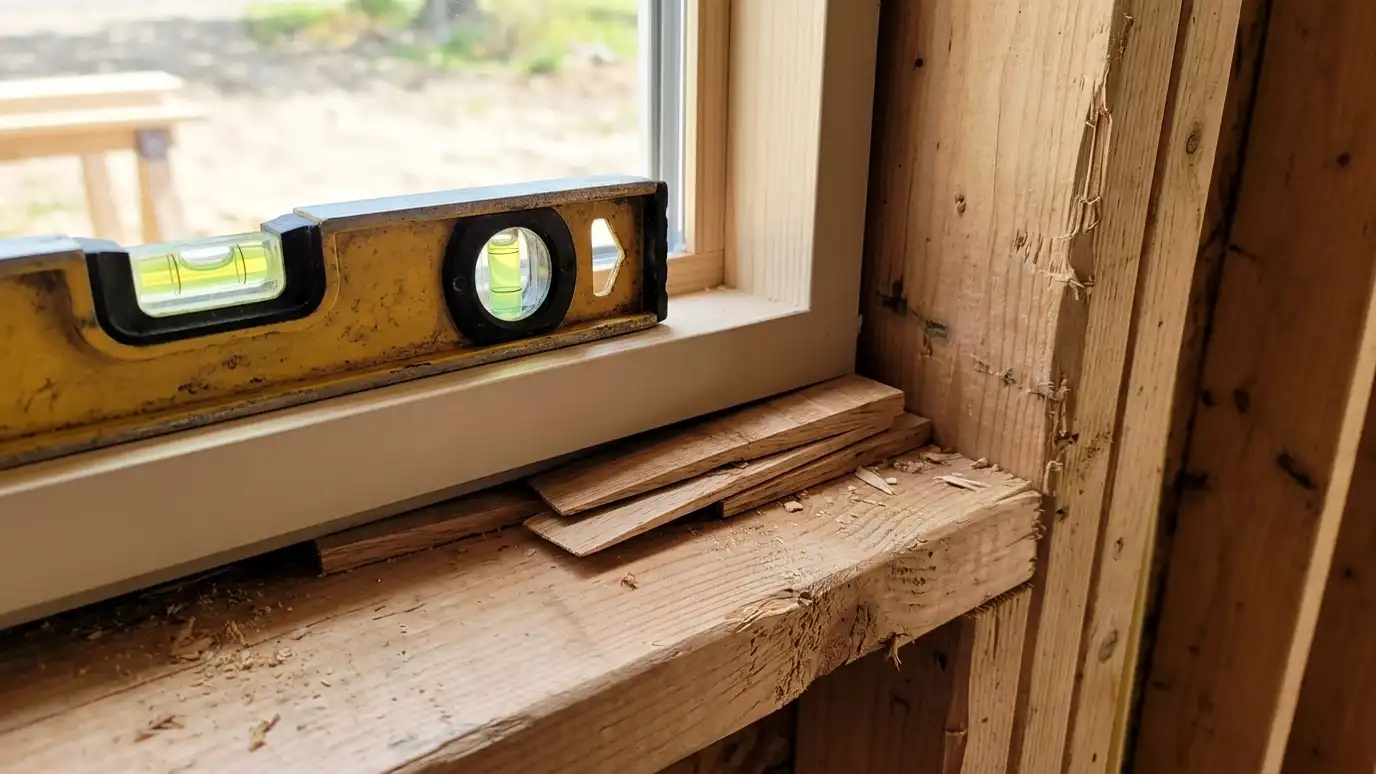
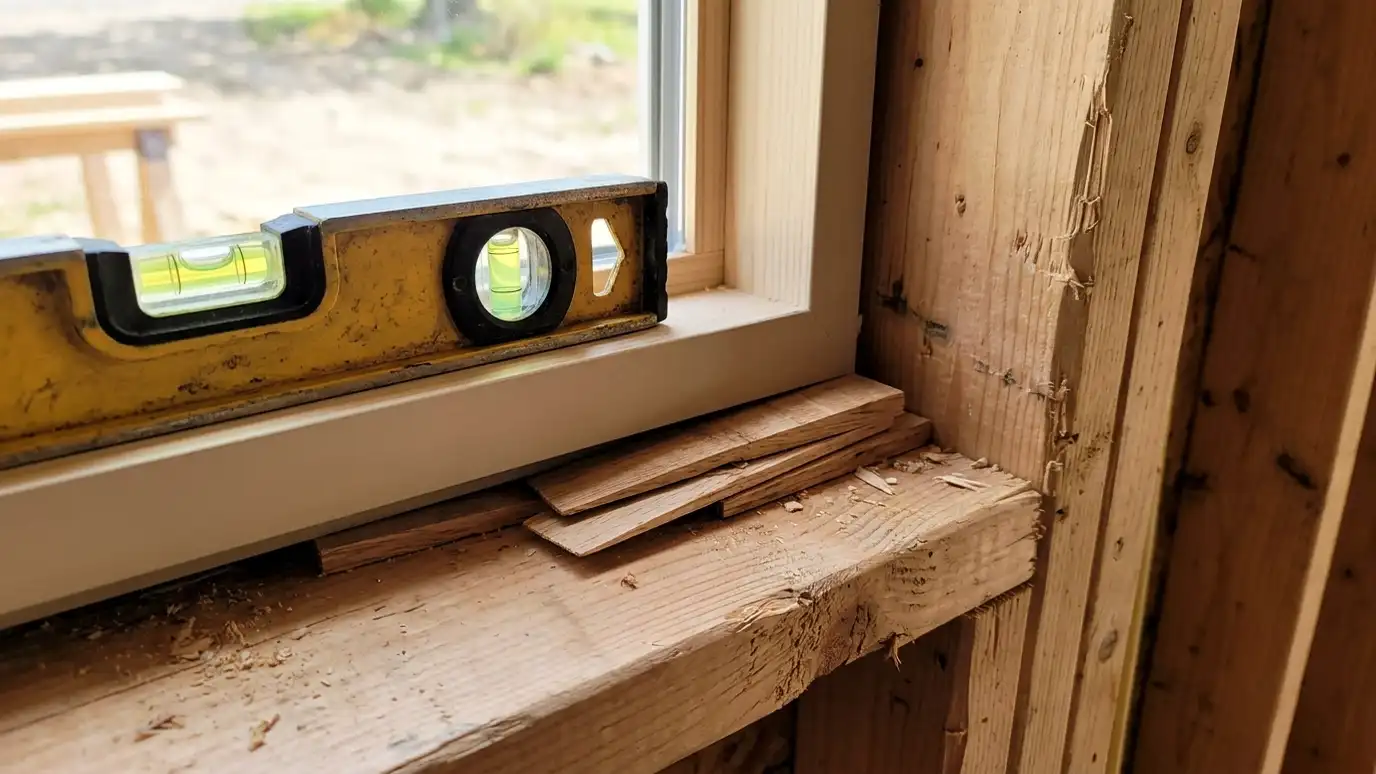
Crews arrive with the windows, protect floors and furniture and remove the old window. They check the opening, repair what needs repair, flash, set the new window plumb and level, add foam and sealant and test the operation.
A typical house takes one to several days, depending on the number of windows and the method.
We talk you through each step and walk each room with you before we pack up.
On installation day, keep pets in a safe room and keep children away from the work area. Tell the crew about anything fragile near the windows, and ask for a quick update at lunchtime if the day will be long.
Step five: finishing
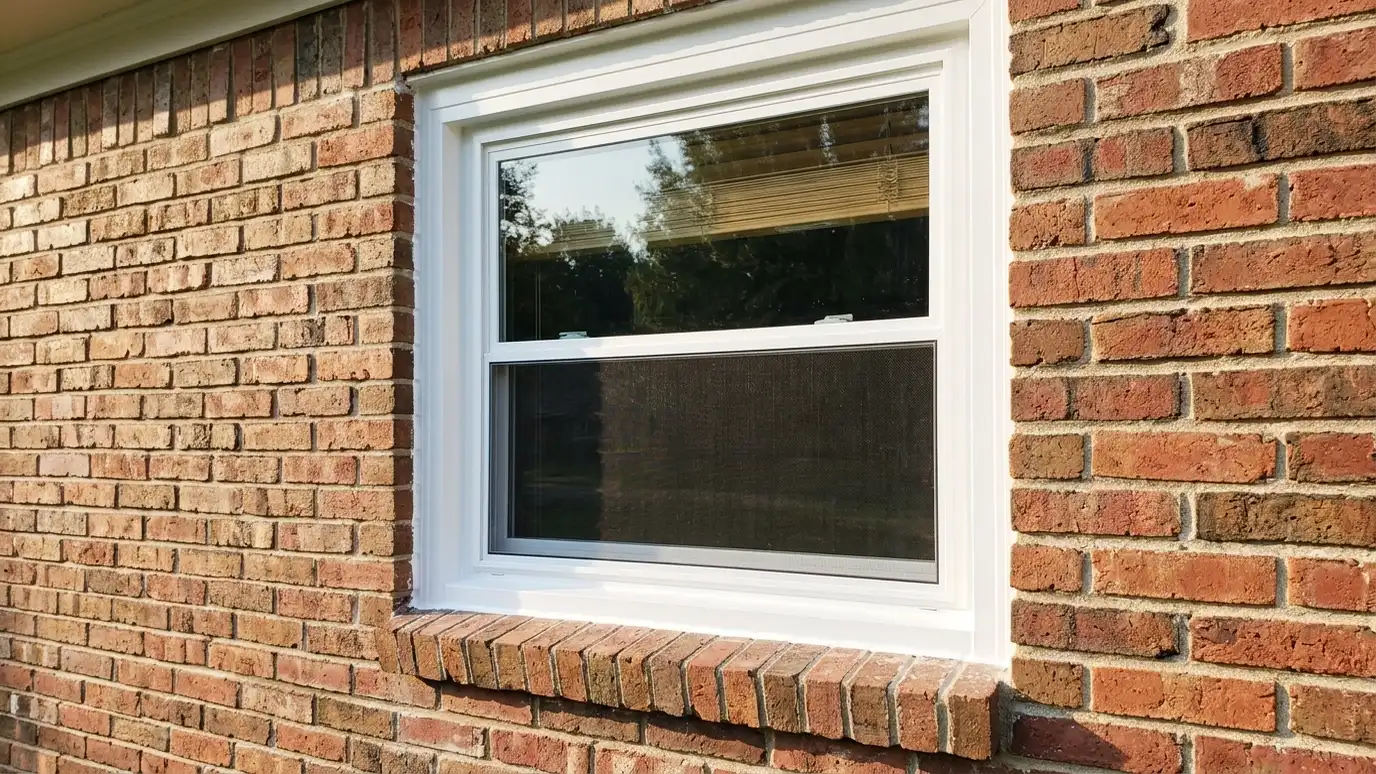
Interior casing, exterior capping, caulk and paint are completed as agreed. Some projects keep existing trim and others replace it, and we explain what was planned for each window.
Screens are checked and installed, and the glass is cleaned.
If paint needs time to cure, we tell you when it is safe to close or open windows normally.
Trim and paint can be the slowest part. Caulk needs time to cure and paint needs time to dry, so plan for a second visit if the finishing is extensive. Ask for a realistic date in advance.
Step six: the walkthrough
Before we call a job done, we operate every window with you, check locks, screens and trim and fix anything that is not right. We explain care and cleaning.
We also leave you the paperwork for the windows you chose, including model details, which helps with future repairs or replacement glass.
If you have a question later, one phone call reaches us.
Keep the order forms and model details in a safe place. If a pane breaks or a part wears out years from now, those details make the replacement fast and accurate.
Decide on styles and glass early, allow for the lead time and plan to be home for the first and last visit.