Why installation matters
A window is only as good as the way it is set in the wall. A fine window installed badly leaks air, lets in water and wears out early, while a modest window installed well can perform for years.
Most window failures that owners blame on the product are installation failures. That is why this guide spends time on the details.
Ask any company how it installs, and expect a specific answer.
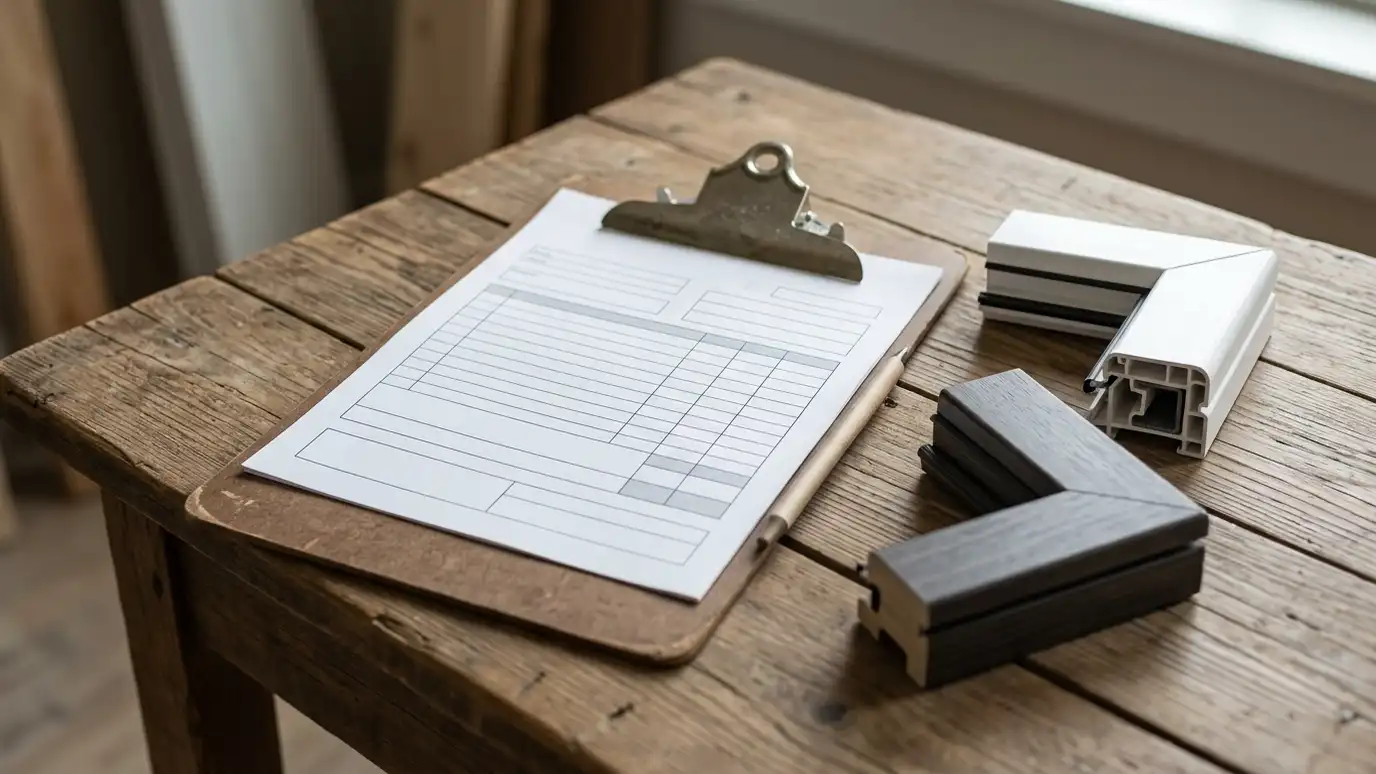
Ask to see the installation steps in writing. A company that has a written process for flashing, foaming and sealing is more likely to follow it on your house. A brief checklist is enough.
Removal and inspection
The old window comes out carefully, and the opening is cleaned and inspected. We probe the sill and framing for rot, check that the opening is plumb, level and square and note anything that needs repair.
In older homes, this is also when we deal with lead-safe practices, weights and pockets inside the wall and layers of old trim.
Any damage found is explained and photographed before work continues.
Older houses can hide surprises: weights in wall pockets, layers of old paint and settled framing. A careful crew plans extra time for these houses and explains what they find.
Flashing and sill pan
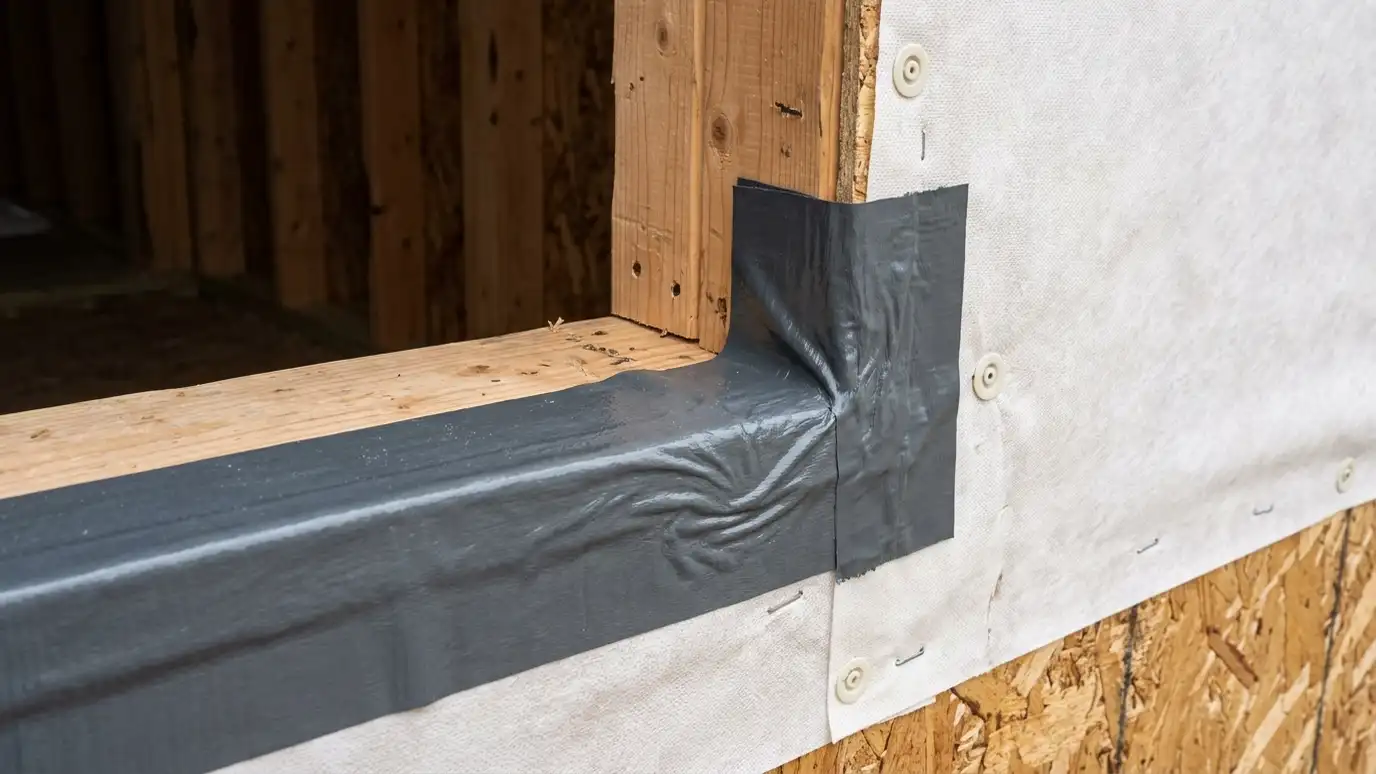
Water gets into windows at the sill and the corners, so flashing is the heart of the job. A sill pan or sloped flashing directs water out. Flashing tape goes on in a sequence, from the bottom up, so each layer sheds water over the one below.
The details depend on the siding, the wall wrap and the window type.
We follow the window maker instructions and good building practice.
Flashing tape works only on clean, dry surfaces. In damp weather, work may pause until the opening is ready. A good crew would rather wait a few hours than seal in moisture.
Setting the window
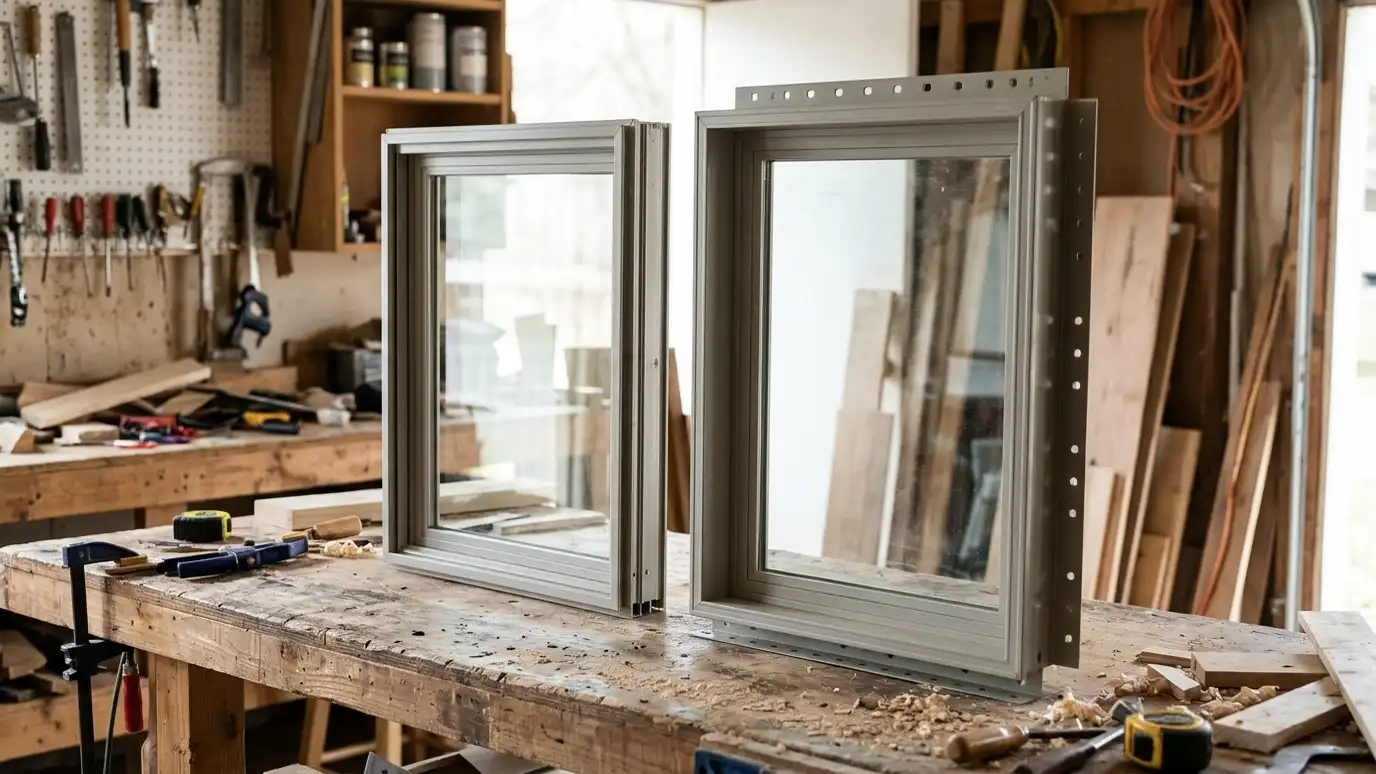
The window is set in the opening on shims, checked for plumb, level and square and fastened as the maker directs. The sash is operated before the window is secured, to make sure nothing is binding.
A window forced into a twisted opening will stick and may leak.
We take the time to get it right.
A window forced into an opening that is out of square will bind. Shims are placed in specific spots to hold the frame straight without bowing it, and the crew checks operation before the final fasteners.
Foam and sealant
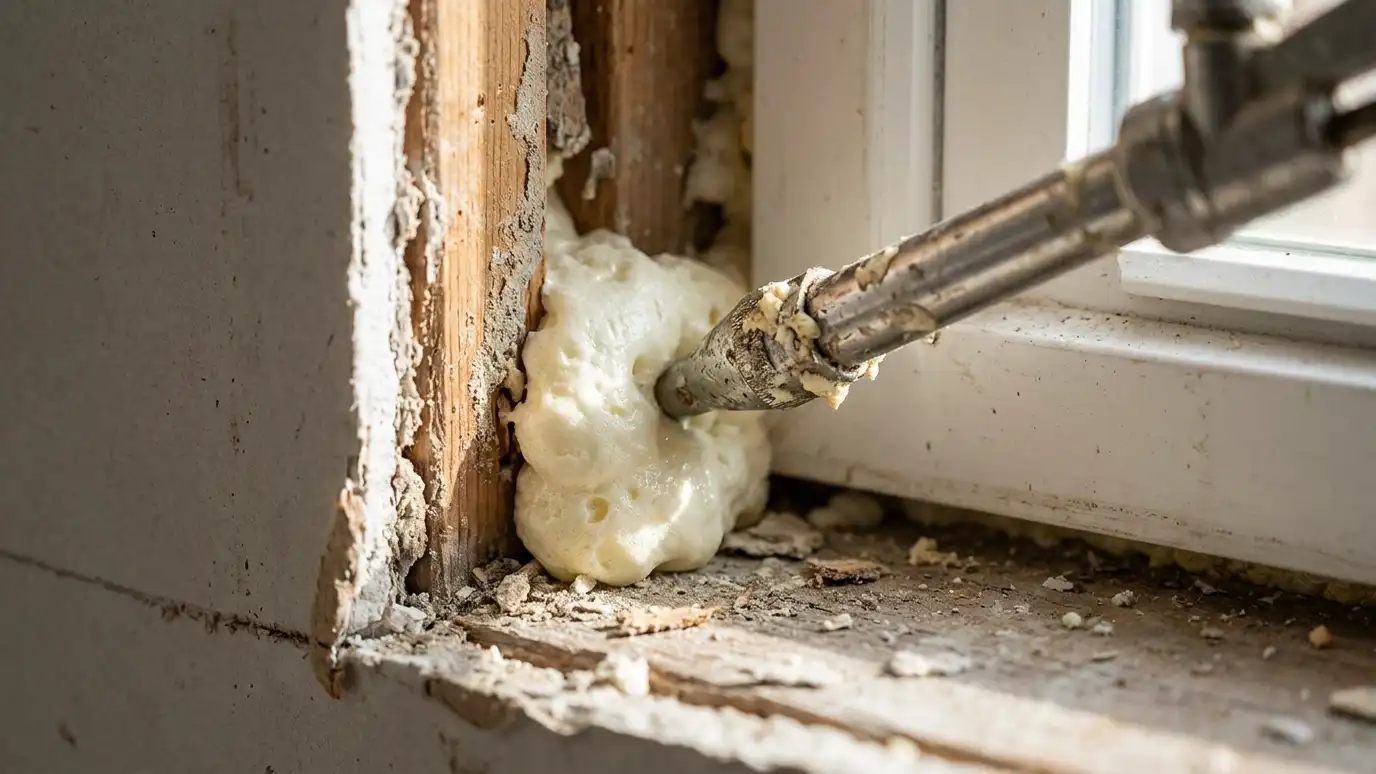
Low-expansion foam made for windows fills the gap around the frame to stop air. Too much foam can bow the frame, so the amount is controlled. Exterior sealant is applied to the joint between the frame and the siding or trim, and interior trim is caulked.
Using the right products in the right places is a big part of a lasting seal.
We use products made for these joints.
Foam expands slightly as it cures, so the crew uses products made for windows and trims the excess afterward. Sealant joints get a smooth, continuous bead with no gaps.
Testing and cleanup
We operate every sash, check the locks and screens, look at the seals and run a final water-resistance check where appropriate. Trim and caulk are finished, and the glass is cleaned.
We also pick up debris and protect floors until the last window is done.
The final walkthrough is your chance to point out anything you want adjusted.
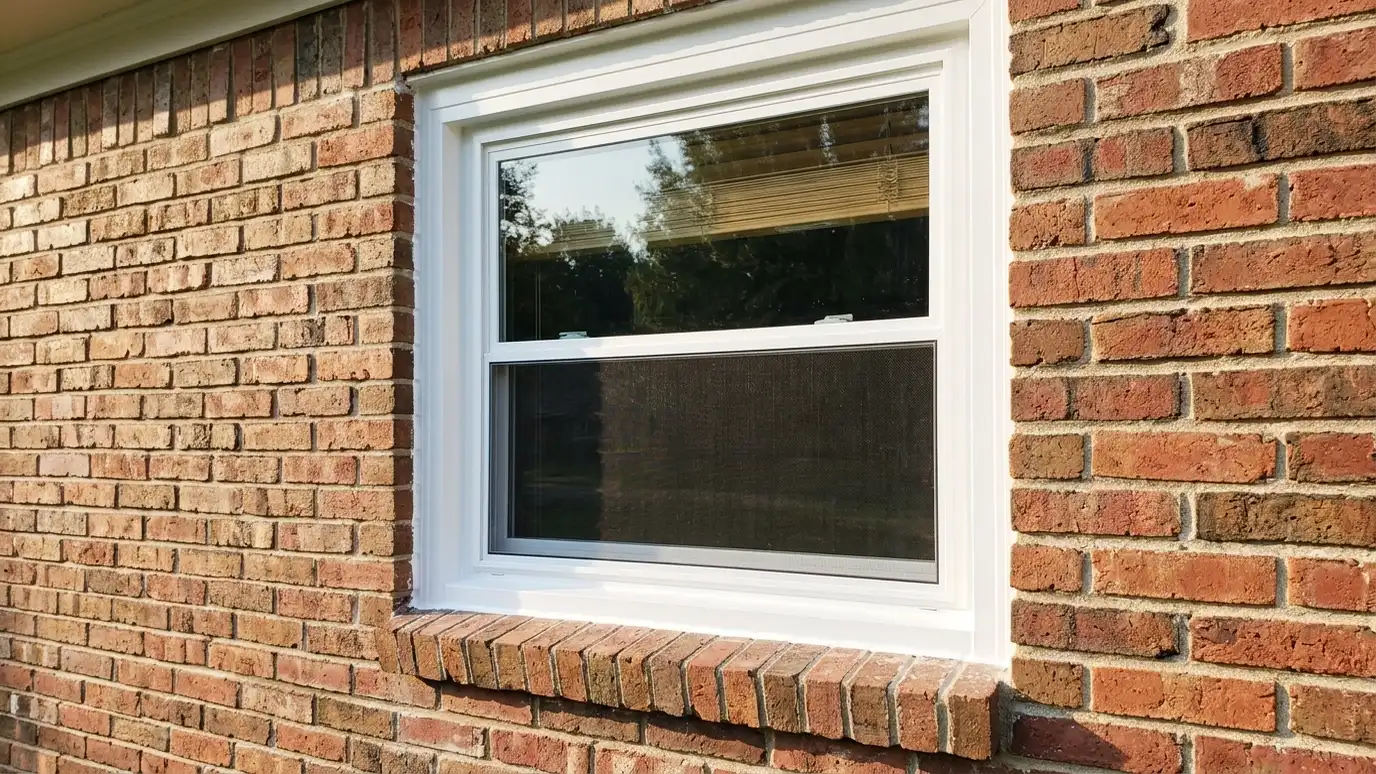
After the job, take a short walk around the outside too. Look at the sealant lines, the capping and the trim. If anything looks uneven, point it out while the crew is still on site.
Ask how a company flashes, foams and seals, because the answer tells you how long your windows will perform.